Aug.17.2016
Map Strategies 7: ANTARCTIC BASE
The 3-floored Antarctic Base
This map has a number of levels and complex routes.
Learning the maps is important, and perhaps more so for the Antarctic Base.
I'll be going over the major hotspots that the combat data has revealed.

![]() There are ducts that connect the lower to the mid, and the mid to the top levels,
There are ducts that connect the lower to the mid, and the mid to the top levels,
and each level is connected in at least two different places.
Once you add the fact you can drop down in places too, this map has a lot of different possibilities.
There are multiple routes
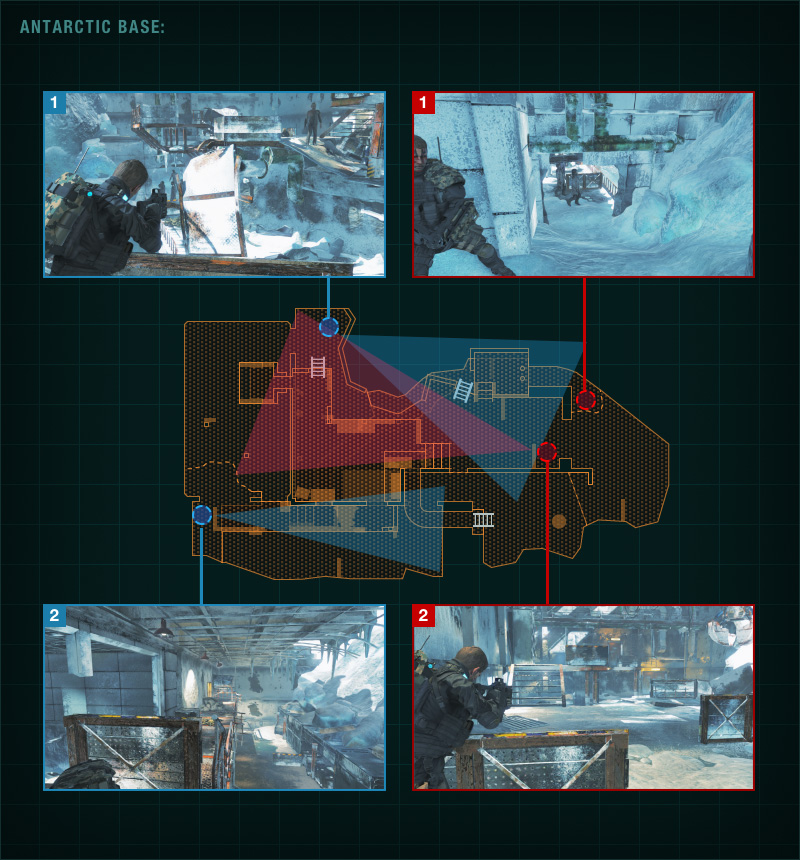
There are a number of commonly used guard points, but...
You need to keep your eye on multiple locations, and if you're spotted you tend to lose your jammer and are forced to abandon the position.
1
One often used guard point.
You can cover multiple routes from here, but they're spread out and it's hard to keep things under control if you're attacked from multiple positions.
2
This spot covers the upper duct.
The problem is it's hard to get out of here if you're overrun, and you're weak to side attacks and need backup.
1
This place is used to guard against lower level attacks.
That said, the view is too narrow to cover other areas and there isn't much point picking this first.
2
There's a good view from here, but you're weak to attacks from above that can take your Jammer out,
and enemies can sneak up behind you using the ducts.
Popular kill spots
Moving further up to try and get behind the other team is always a good tactic, but it has its own set of risks.
There's always a tradeoff, whether you're trying to lure someone into range, or trying to surprise them.
Here are some of the highest ranking spots when it comes to kills according to actual play data,
try guarding some of these, you should find it helps you boost your stats.
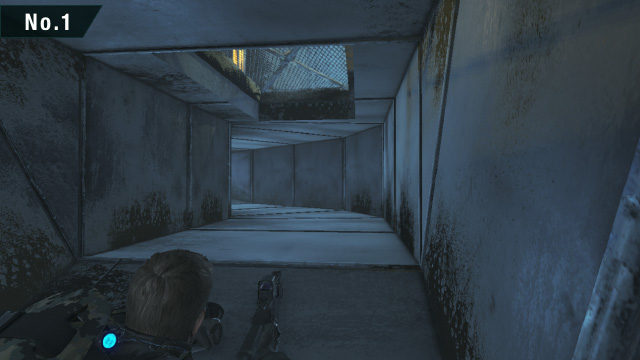
![]() This duct connects the lower and mid levels.
This duct connects the lower and mid levels.
This is by far the top spot to camp, and you have a number of options for taking out enemies.
You are vulnerable from the one side you can't guard however, so staying put can make you a target.
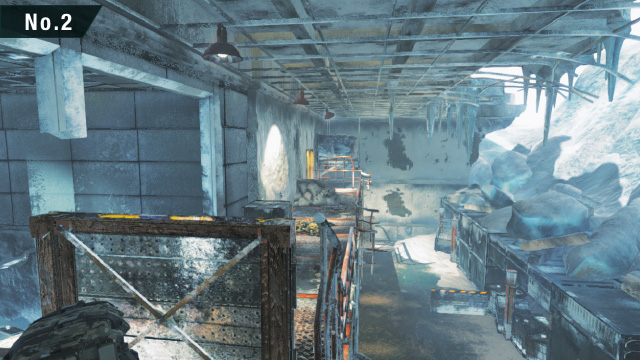
![]() This is one of the points I mentioned earlier.
This is one of the points I mentioned earlier.
It has some easy kills towards the start of a match from enemies that try using the duct,
and again towards the midgame when you can take out enemies to the bottom left without being seen.
![]() This duct connects the top level.
This duct connects the top level.
While it loses out compared to 2nd place, it's easily missed by other players and can be a good spot to catch enemies off guard.

![]() This is just outside the duct on the top level.
This is just outside the duct on the top level.
It's easier to stay out of sight up here, and with the wide view it's a good spot to get in a few kills.
The only issue is that if someone *is* watching you then you'll be an easy target,
so if you need to move out remember to keep them in your sights.
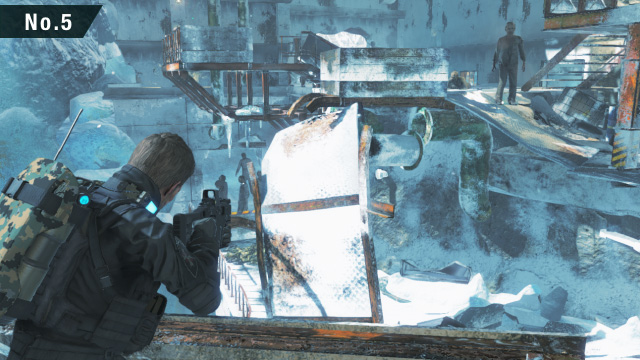
![]() Here's another point we've already gone over.
Here's another point we've already gone over.
This is commonly used by the team that starts on the left side of the map - remember this if you're starting on the right.
There's a wall behind you here, which can make it easy for the other team to lob grenades.
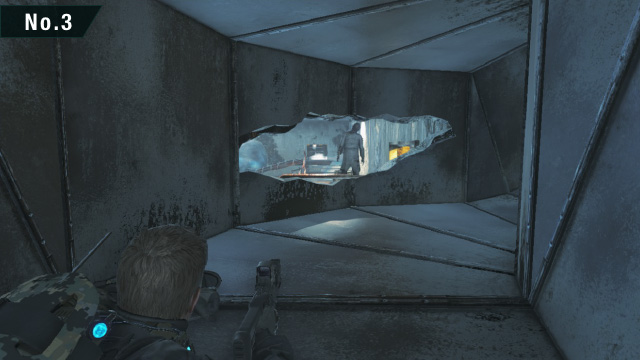
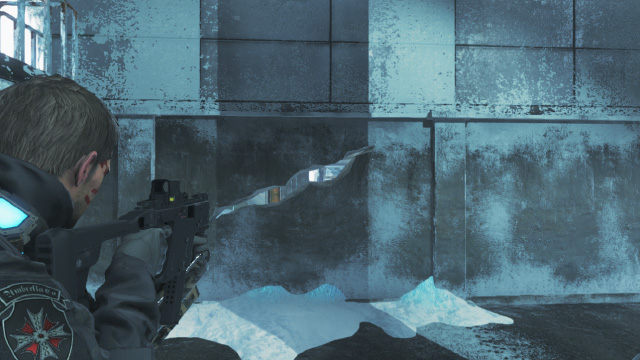
Bonus:
You can shoot through this crack next to the left side start area.
If you equip a scope you'll have even more opportunities to attack the enemy from here.
![]()


